00%


We are doing more than
you expect
-
01
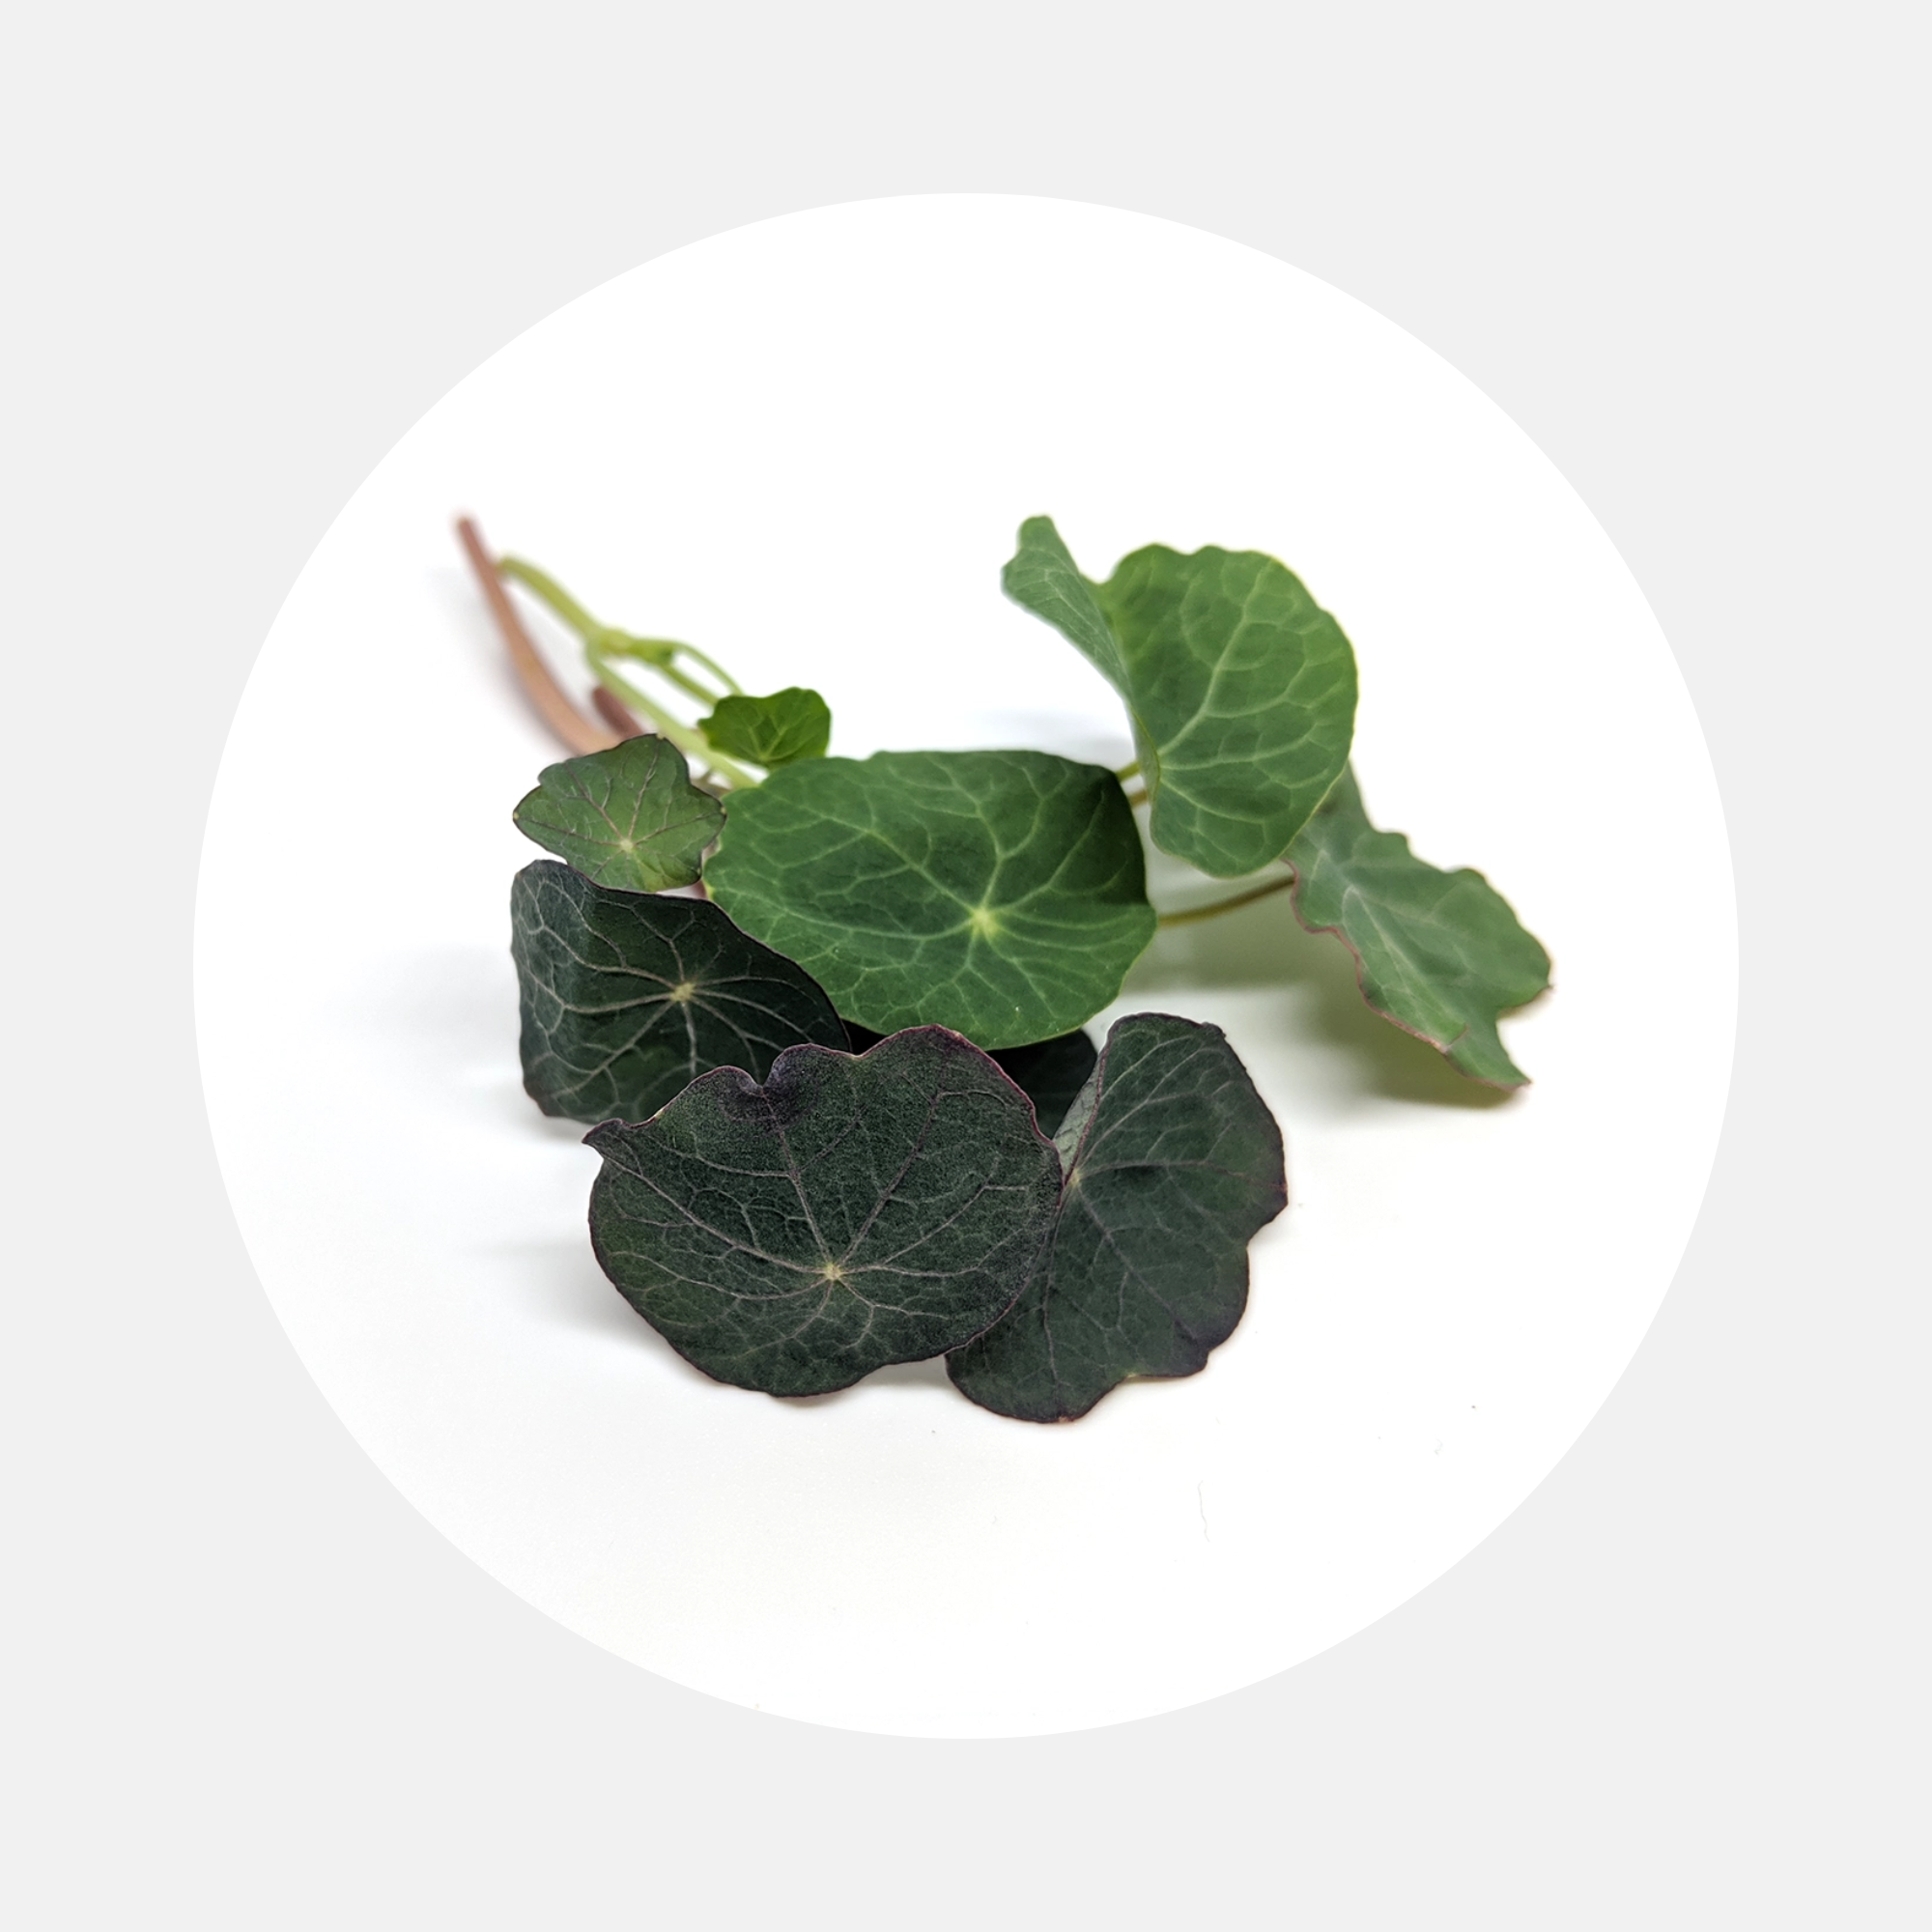
Farm to Table
From Farm to Table in 12 Hours: Experience the Freshness of Our Microgreens.
-
02
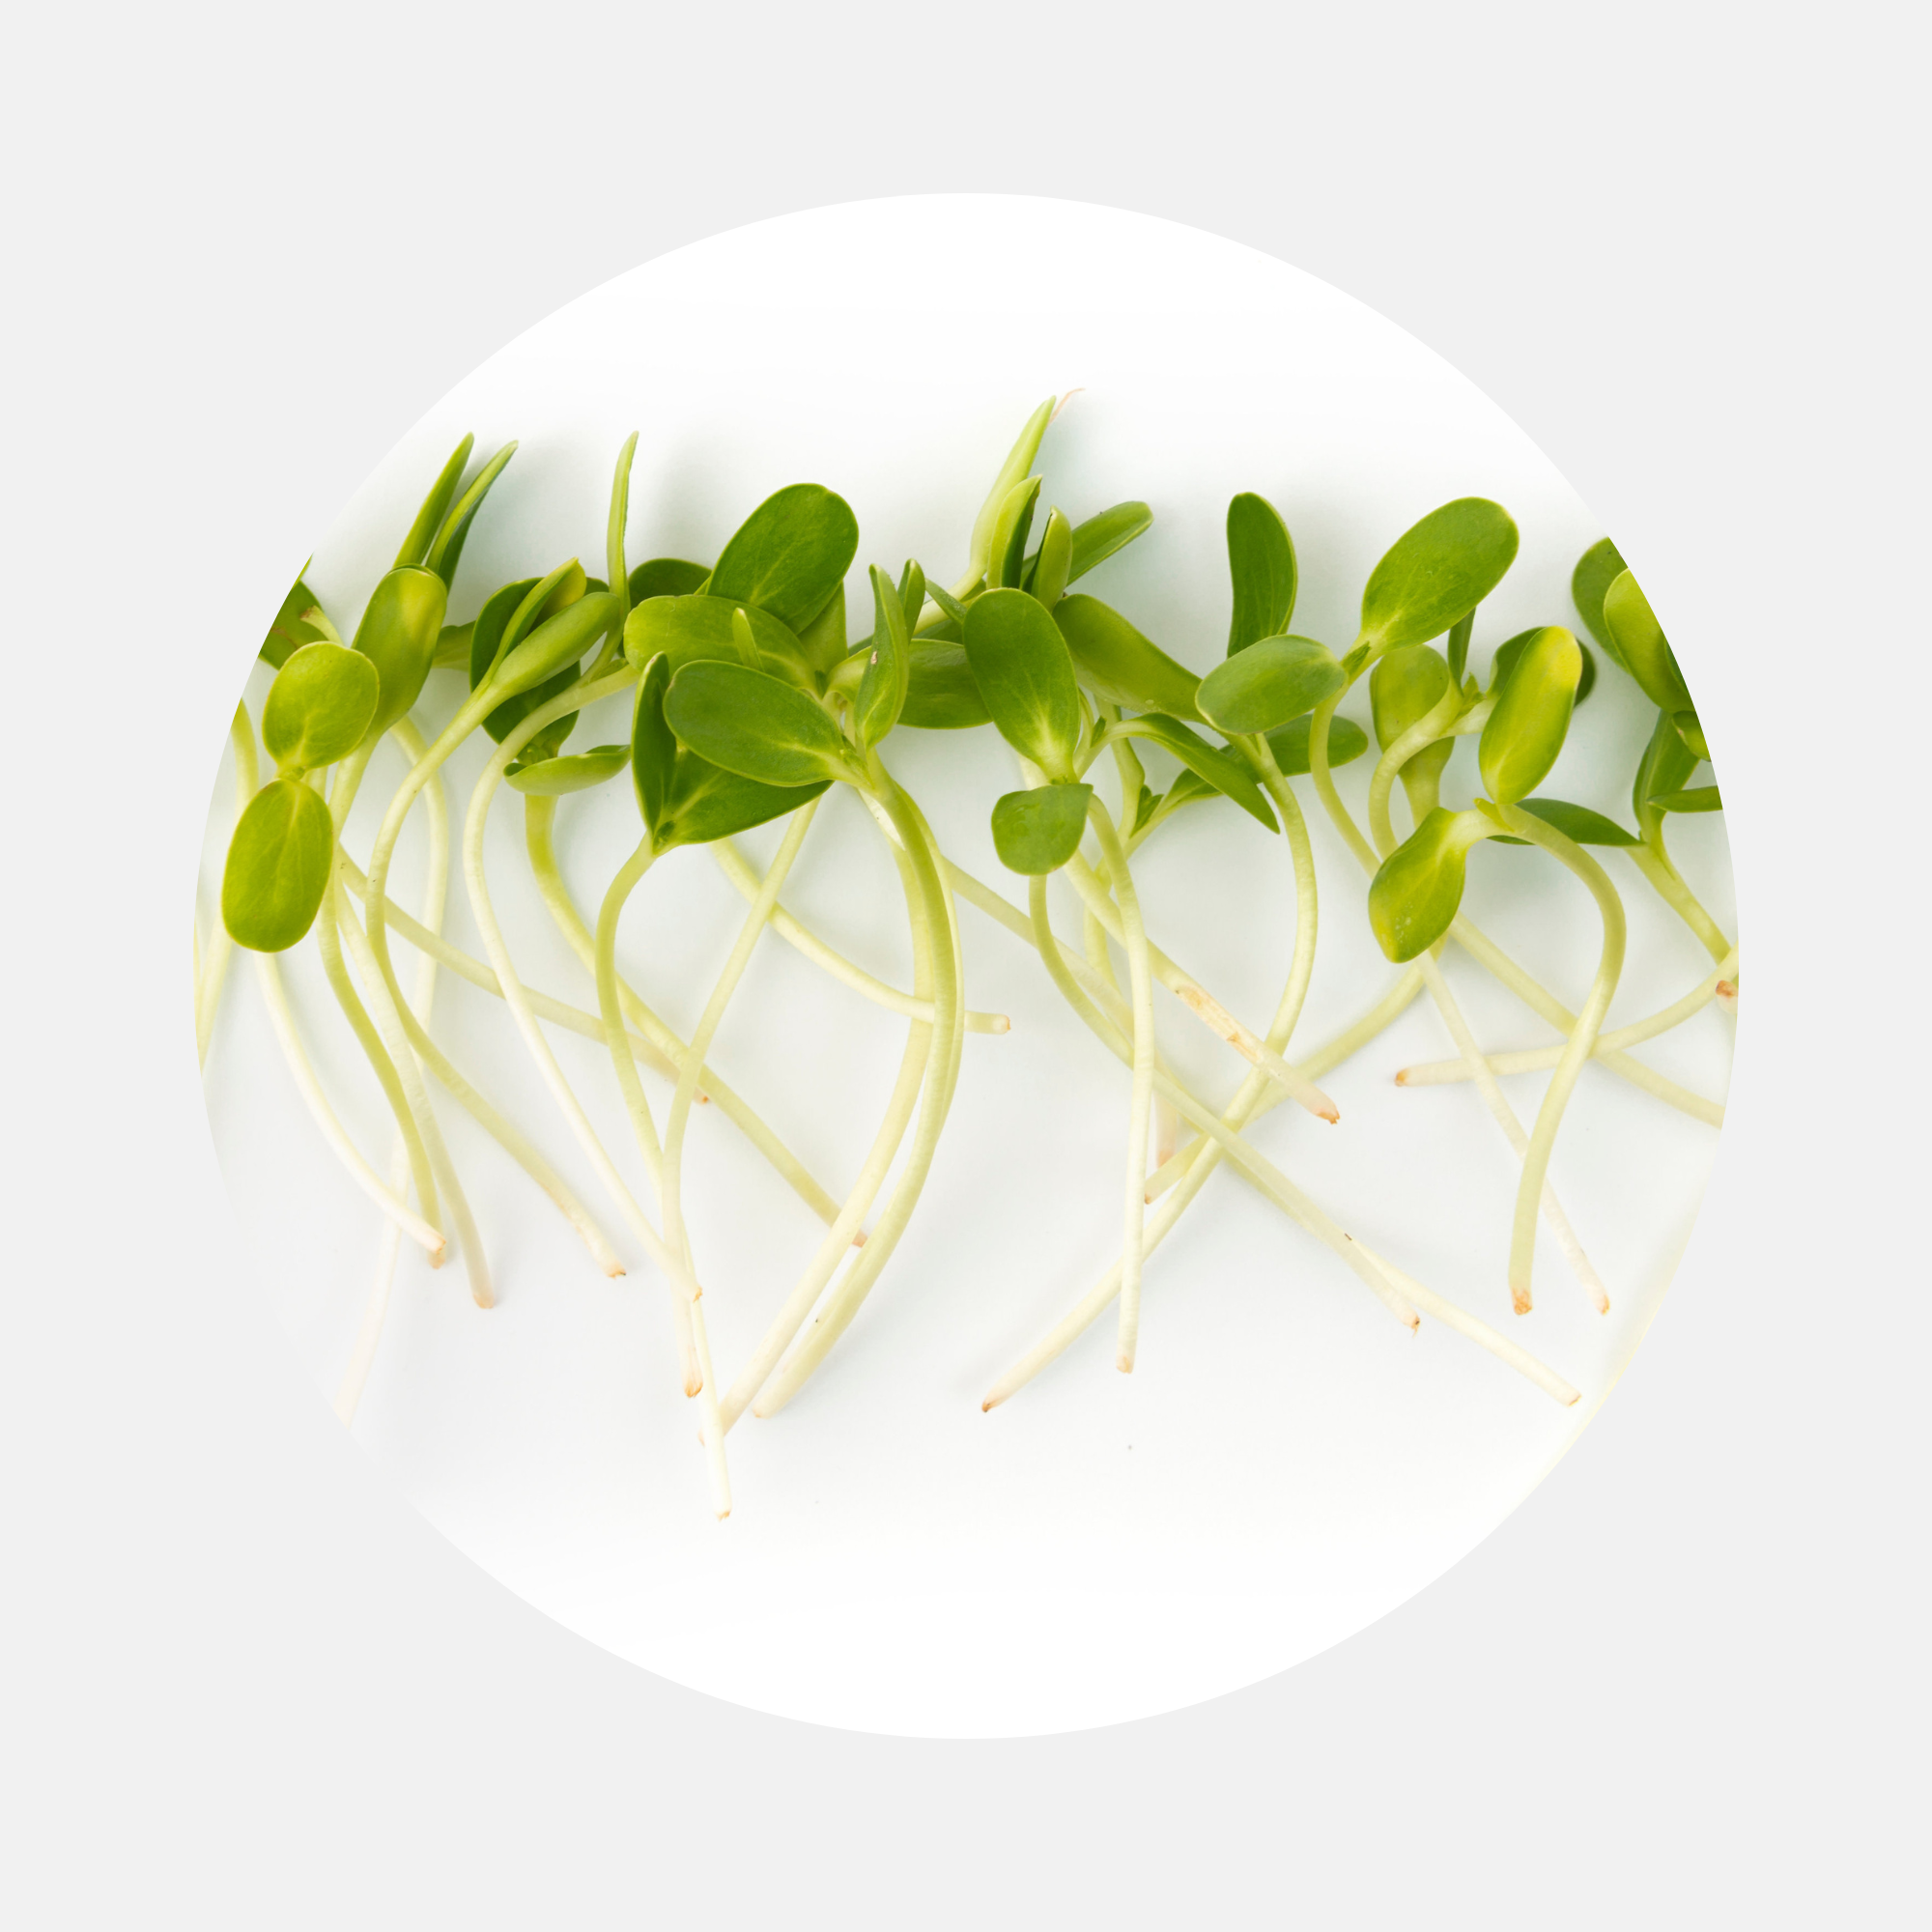
Non-GMO
Pure and Natural Delight: Savor Non-GMO Microgreens Straight from Our Farm to Your Plate!
-
03
Free & Fast Delivery
Enjoy Free Delivery on Orders Over $100: Bringing Fresh Microgreens Directly to Your Doorstep!

4
Years Experience
Order your samples today?
Experience the excellence of our products firsthand. Order a sample today and discover why our offerings are highly regarded.


DuaGreens Menu
Delicious. Diverse. Unforgettable. Experience extraordinary flavors from our carefully crafted menu.